A Guide to Sublimation Paper: Weights, Coatings, and Troubleshooting Explained
Choosing the right sublimation paper can feel like a minefield. With different weights (GSM), various coatings, and a flood of conflicting advertisements online, it is easy to get confused. If you have seen adverts claiming you need a completely different brand of paper for a mug versus a T-shirt, you aren’t alone—but a lot of it is just clever marketing.
To help you get the best out of your prints, eliminate ghosting, and stop wasting blanks, we are pulling back the curtain on how sublimation paper actually works.
100gsm vs 120gsm: It’s About Ink Load, Not the Substrate
A common myth in the sublimation community is that 100gsm paper is strictly for hard items and 120gsm is strictly for fabric. In reality, GSM (Grams per Square Metre) measures paper thickness and weight. Your choice should depend entirely on your design’s ink load and your printer’s mechanics.
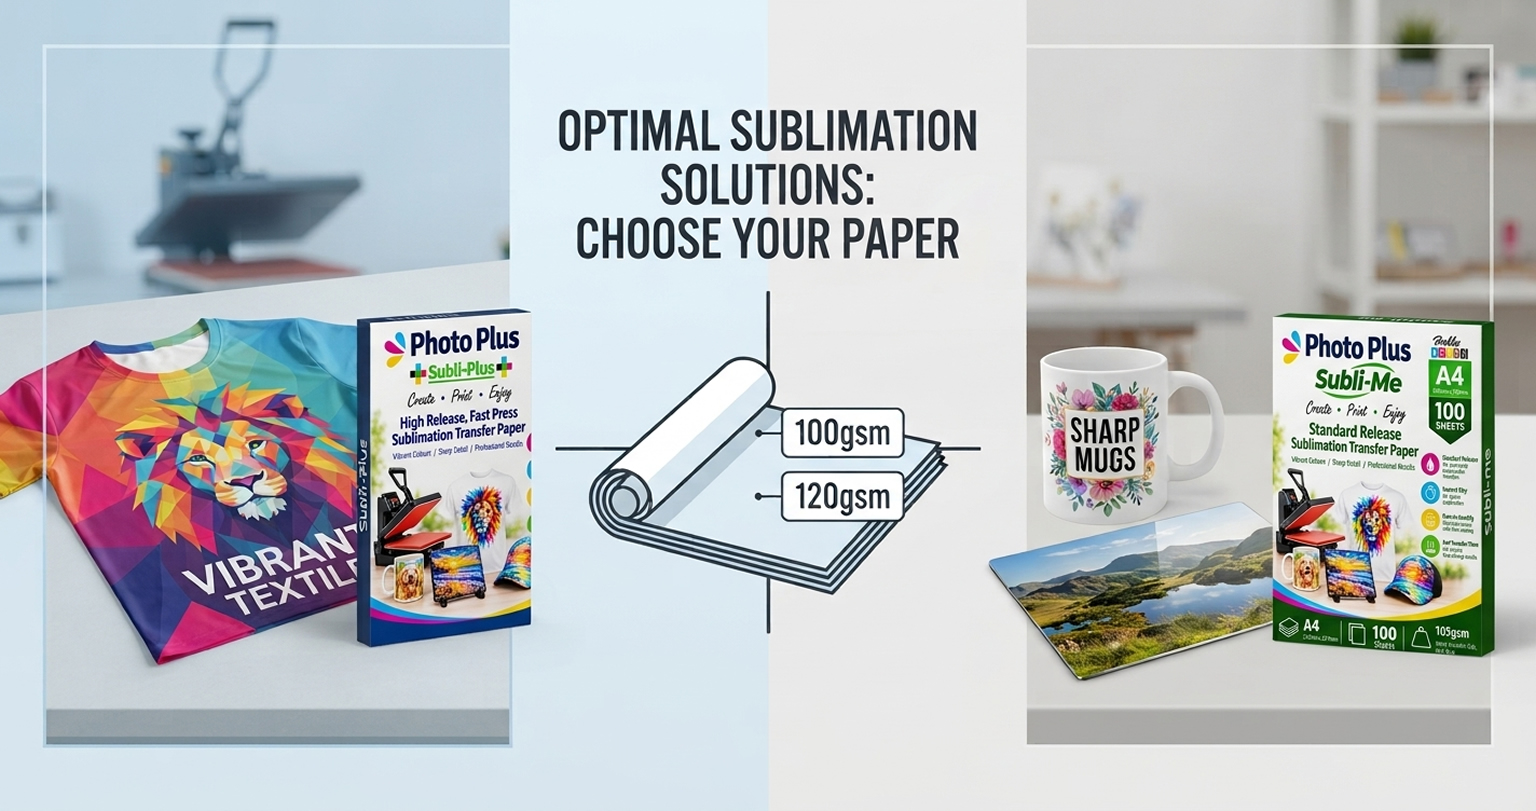
- 100gsm (Lighter weight): This paper is ideal for text, light graphics, and simple logos. Because it is thinner and more pliable, it is highly flexible. This makes it the perfect choice for tightly wrapping around curved surfaces like mugs and tumblers without creating rigid air pockets. However, heavy photographic prints can cause it to warp or wrinkle (“cockle”).
- 120gsm (Heavier weight): This paper is specifically formulated to handle heavy ink saturation and full-bleed backgrounds. The thicker structure absorbs dense liquid ink without buckling, keeping the sheet perfectly flat so your printer’s printhead doesn’t scrape against it. It is excellent for flat items like apparel or photo panels because it resists curling under the intense ambient heat of a press room.
The Weight Rule of Thumb: Choose 100gsm if you mostly wrap drinkware or print lighter graphics. Choose 120gsm if you print heavy, dark, full-bleed images or find your paper curls at the edges.
High Release vs Standard Release: The Sharpness Secret
Do you really need a different paper for ceramic, metal, and fabric? The short answer is no, but understanding how chemical coatings manage gas release will completely change the quality of your finished products.
- High Release Paper: This paper features a specialized surface barrier that forces up to 95% of the ink out of the page. It is the absolute champion for textiles, t-shirts, and soft goods where you need maximum ink depth to achieve rich blacks and vibrant, wash-fast colours.
- Standard Release (Photo Matte) Paper: This paper utilizes a premium matte coating that holds onto the ink a bit tighter, acting as a natural brake system to release gas at a slower, controlled rate. While it requires a slightly longer pressing time, it is the ultimate weapon for rigid substrates like ceramic mugs, metal panels, glass, and slate. Because hard surfaces are non-porous and cannot absorb a massive rush of gas instantly, this controlled release prevents the ink from spreading sideways, giving you perfectly crisp text and laser-sharp details.
Quick Reference: Matching Paper to Your Setup
Use this quick-reference matrix to decide exactly which configuration fits your immediate project:
| If your primary focus is… | Recommended Setup | Why? |
|---|---|---|
| T-shirts, hoodies, and soft fabrics | High Release (120gsm) | Dumps maximum ink deep into the fabric fibers for rich, vibrant, long-lasting color. |
| Intricate mugs, metal panels, and detailed photo gifts | Standard Release (100gsm) | Slows the ink release to prevent pooling, ensuring razor-sharp edges on non-porous surfaces. |
| A total mix of everything on one printer | High Release (100gsm) | Serves as a flexible, “Universal” powerhouse that wraps easily and transfers efficiently. |
Sublimation Troubleshooting Guide
If things go wrong at the heat press, use these proven, non-destructive fixes to solve the most common sublimation headaches:
- “Pizza Wheel” Track Marks on Prints: If your printer’s aggressive feed rollers leave dotted track marks on High Release paper, the ink is sitting on the surface too long. Switch to a Standard Release paper. The premium matte coating absorbs the ink moisture instantly, eliminating roller tracking while still delivering beautiful mug prints.
- Ghosting or Blurry Edges: The paper shifted when the press opened, creating a double image. Secure your paper tightly with heat-resistant tape before pressing, or switch to a specialized Tacky Paper for apparel to lock the fabric and paper together.
- Paper Browning or Scorching: Your temperature is too high or your press time is too long. Lower the heat slightly or reduce the timer by 5–10 seconds.
- Faded or Splotchy Transfers: Moisture is trapped inside your blank. Pre-press your fabrics or hard blanks for 5–10 seconds before applying your sublimation design to drive out hidden humidity.
- Design Transferred in Reverse: Always double-check your printer settings or design software to ensure Mirror Image is turned on before hitting print.
- Ink Bleeding Through to the Press Platen: Heavy ink loads can blow right through the back of the paper. Always place a sheet of plain butcher paper or blowout paper over your design to protect your machinery.
- Printer Misfeeds and Paper Slips: Stiffer 120gsm paper can occasionally slip in finicky desktop printer trays. If your printer constantly struggles to pull the page, drop down to a 100gsm paper for smoother mechanical feeding.
Final Thoughts
You don’t need a hundred different papers to run a successful sublimation business. By understanding how paper weight handles your printer’s ink volume, and how coatings manage the gas release against your substrate, you can clear up the confusion, minimize waste, and achieve flawless transfers every single time.
Try The HobbyPrint®Range of Sublimation Transfer Papers
Explore our complete range of Subli-me, Subli-Plus, and Subli-Tack papers today to find your perfect workshop setup!
© 2026 HobbyPrint Limited. All rights reserved. No part of this guide may be reproduced or distributed without explicit written permission.