Sublimation Mug Press Settings: Why Too Much Heat, Time or Pressure Can Make Your Image Too Dark & Muddy.
When sublimating onto mugs, it is easy to assume that a dark or heavy-looking transfer is caused by the ink, printer, paper, or colour profile. Sometimes that can be true, but our latest test showed something very clearly:
Too much heat, too much time, and too much pressure can over-drive the transfer and make the finished mug image darker than expected.
Sublimation colour issues are frequently discussed in terms of the printer, the ink, the transfer paper, and the often-blamed ICC profile, which is sometimes put forward as the fix for all colour issues. Very often, it is not. In many cases, the printer, inks, and papers are not the issue at all.
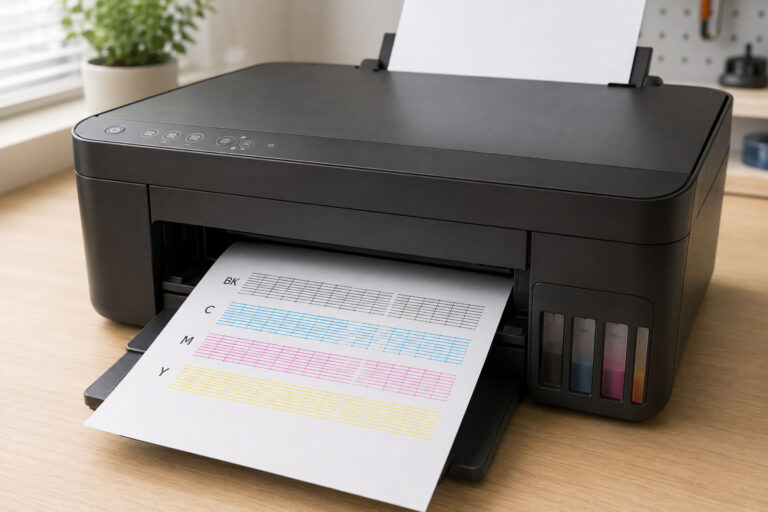
The following results came from a series of tests we carried out using an Epson ET-1810 printer with HobbyPrint® PhotoPlus sublimation inks and HobbyPrint® high-release transfer paper. We also used good-quality Orca-coated grade mugs.
The tests clearly showed that the pressing process in sublimation printing can affect the final colours significantly. Too much heat, time, or pressure can make the image too dark, too heavy, and less clear.
Our Print Setup
For this test, we used CorelDRAW X6, which is still a very capable graphics program for creating and printing sublimation artwork.
No sublimation ICC profile was created or used. The Epson ET-1810 printer driver handled the colour conversion using the standard document profile: sRGB IEC61966-2.1.
sRGB IEC61966-2.1 is a very standard RGB colour profile and is commonly available on most Windows and Mac computers. It is also the standard profile used by many screens, websites, cameras, phones, and general graphics programs.
The image was created and printed from CorelDRAW X6 using the following important print settings in the Epson printer driver:
| Print Setting | Value Used |
|---|---|
| Software | CorelDRAW X6 |
| Paper Type | Epson Matte |
| Quality | High |
| Mirror Image | Checked |
These settings are important because sublimation images need to be printed clearly, with good colour density, and mirrored before pressing onto the mug.
Our First Test
We printed an image that looked very good on the sublimation paper. The colour and detail were strong, and the print itself looked clean.
The first mug press test was carried out using:
| Setting | First Test |
|---|---|
| Temperature | 208C |
| Time | 170 seconds |
| Pressure | High |
| Paper | High-release sublimation paper |
The result transferred well, but the finished mug was noticeably too dark. The image had become heavier than expected and did not reflect the screen image as closely as we wanted.
First Adjustment
We then reduced the press settings:
| Setting | Second Test |
|---|---|
| Temperature | 200C |
| Time | 150 seconds |
| Pressure | Light/medium |
| Paper | High-release sublimation paper |
This produced a much better result. The image lightened, became clearer, and looked very good on the mug.
This was an important stage because it showed that the darker result was not simply caused by the artwork, printer, ink, or paper. The press settings were having a clear effect on the final image.
Second Adjustment
We then tested a further reduction:
| Setting | Third Test |
|---|---|
| Temperature | 190C |
| Time | 150 seconds |
| Pressure | Light/medium |
| Paper | High-release sublimation paper |
This produced another strong result. The image was lighter again and was much closer to the image shown on screen.
What This Tells Us
This test is a useful reminder that sublimation settings need to be balanced. More heat, more time, and more pressure do not always mean a better transfer.
With high-release sublimation paper, the dye can transfer very efficiently. If the press is too hot, too long, or too tight, the image can become too dark, too heavy, or slightly muddy, especially in deeper colours and shadow areas.
By reducing the temperature, reducing the time, and changing from high pressure to light/medium pressure, the image became lighter, clearer, and much closer to what we expected.
If Your Mug Transfers Are Too Dark
If your sublimation mug image is coming out darker than expected, consider checking the following before assuming the print or profile is wrong:
- Is the temperature too high?
- Is the press time too long?
- Is the pressure too heavy?
- Are you using high-release paper that may need lower settings?
- Are your print settings correct?
- Have you remembered to mirror the image?
- Are you comparing the mug to a properly calibrated screen?
A good adjustment would be to reduce one setting at a time, but if the result is heavily over-transferred, reducing temperature, time, and pressure together may quickly show whether the press settings are the cause.
Our Current Mug Starting Point
For this test, our improved settings were:
190C to 200C for 150 seconds with light to medium pressure.
The 200C test produced a very good mug image, while the 190C test produced a lighter result that was closer to the screen image.
Please remember that mug presses, mug coatings, paper types, inks, software, printer drivers, and room conditions can all vary. These settings should be treated as a starting point rather than a fixed rule for every setup.
Final Thoughts
If a sublimation transfer looks too dark, it is not always a problem with the printer, ink, artwork, or the colour profile. Sometimes the image has simply been pressed too hot, for too long, or with too much pressure.
Small changes to time, temperature, pressure, and print setup can make a big difference to the final result.
A Point Often Overlooked
You may have purchased a sublimation printer starter bundle, which included the printer along with the consumables required to convert the printer to sublimation printing. If the system supplied worked well, it is usually best to stick with the same brand of inks and papers, as this helps keep the setup consistent.
Be cautious with some marketplace sublimation consumables. If you try different inks or papers and the results are not as expected, change back to your known good brand before assuming the printer, profile, or artwork is at fault.